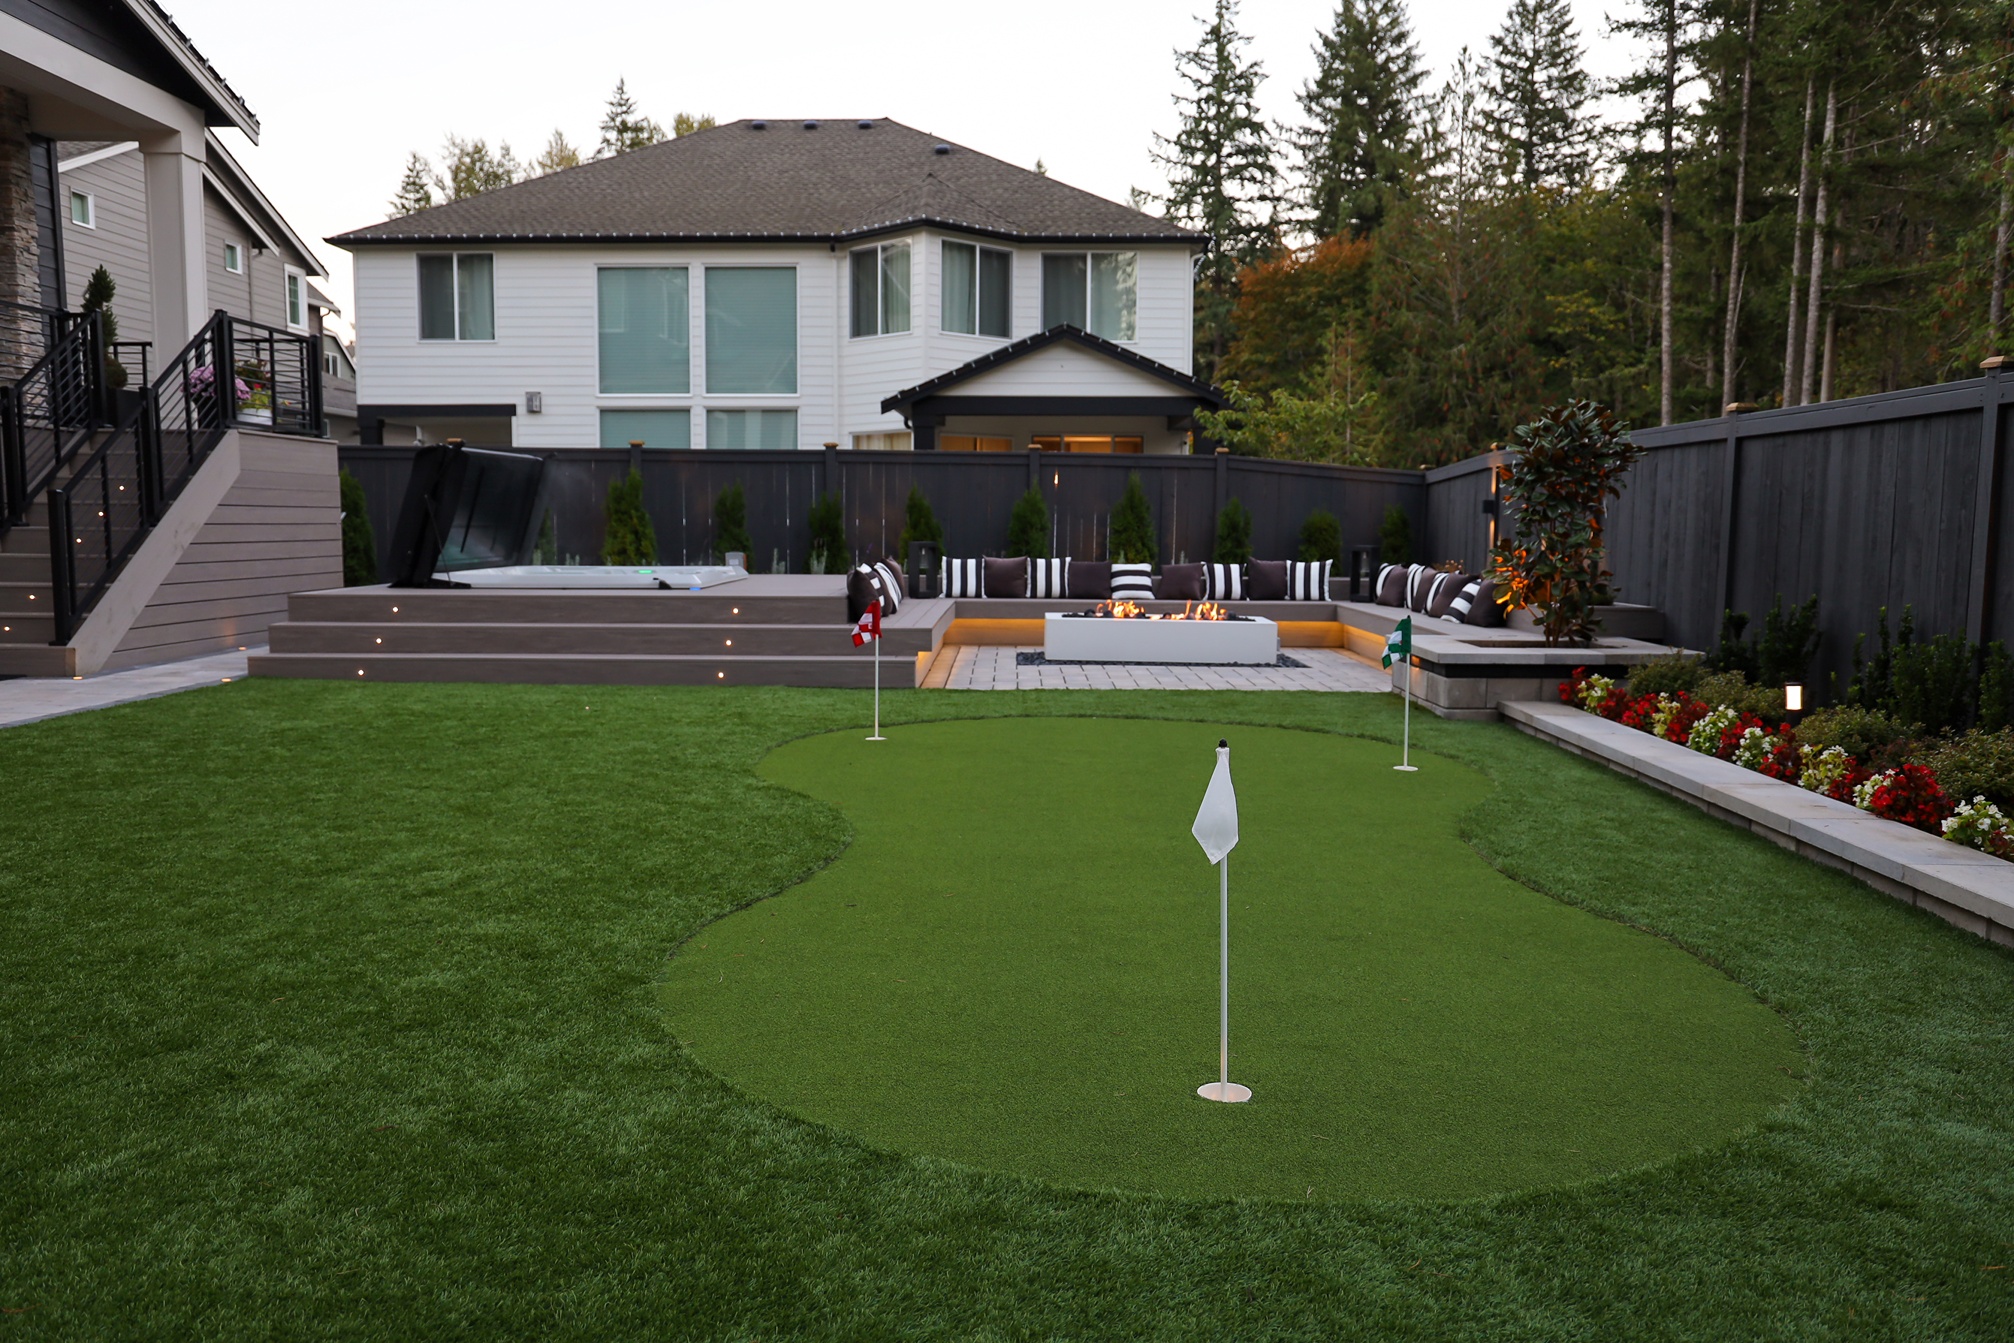
Leveling your backyard before landscaping creates the foundation for a functional and attractive outdoor space.
June 17, 2026
•
3 min read
Leveling your backyard before landscaping creates the foundation for a functional and attractive Outdoor Space. A level surface prevents water problems and enhances the appearance of your yard. Landscape design specialists know that proper preparation makes all the difference in how your project turns out. This guide walks you through each step of the leveling process. You’ll learn how to assess your yard, prepare the ground, and create the perfect base for your landscaping plans.
Understanding your yard’s natural slopes and contours comes before any leveling work begins. Walk around your property and observe where water goes during rain—note areas where puddles form or where the ground dips lower. Use a line level, laser level, or simple water level to measure slopes and elevation changes. These measurements show you exactly what needs adjusting. Look for spots where water drains toward your house or pools in low areas. This information helps you plan your leveling strategy effectively.
Leveling your backyard before landscaping requires the right equipment for the job. You’ll need a sturdy shovel and rake to clear surface debris and vegetation. Get a measuring tape for accurate measurements and marking spray paint to outline work areas. A wheelbarrow makes moving soil and gravel much easier. A compactor creates a firm, even surface once grading is complete. Wear durable work gloves to protect your hands during manual work. Keep a reliable level and string line handy to check your progress. Having everything ready before starting saves time and prevents frustration.
Clear your backyard completely before starting the leveling process. Survey the entire area and identify tree stumps, rocks, old structures, and other obstacles. Use shovels, rakes, and wheelbarrows to remove smaller items systematically. Larger objects may require the use of an excavator or professional assistance to be removed safely and securely. Dispose of all debris properly through recycling, composting, or waste removal services. Don’t skip this step – leaving obstacles unaddressed can create problems later. A clean workspace makes the actual leveling much simpler and more accurate.
Proper grading directs water away from your home and prevents standing water in your yard. The ground should slope down at least 2-3 inches for every 10 feet of distance. Find high and low spots using a line level or laser level. Move soil from high areas to fill low spots using a shovel or skid steer. Pack down the soil as you work to prevent settling later. Create smooth transitions between different areas of your yard. Take your time with this step – good grading prevents drainage problems for years to come.
Creating a smooth, even soil surface requires patience and attention to detail. Remove large rocks, debris, and tree roots that stick up from the ground. Spread topsoil evenly across the area using a rake or leveling tool. Fill low spots and smooth down high areas gradually. Pack the soil lightly to create a stable base for planting. Check your work frequently with a level to catch uneven spots early. A uniform surface not only looks better but also helps plants grow properly.
Test your drainage before finishing the leveling project. Watch how water moves across your yard after rain or watering. Areas where water collects indicate drainage problems that need to be addressed. Dig a small test hole, fill it with water, and time how fast it drains. Use a hose to simulate rain and observe water movement patterns. Fix poor drainage by installing French drains, adjusting slopes, or adding swales to redirect flow. Good drainage prevents waterlogging, erosion, and plant disease.


The timeline depends on the scope of your project, but most residential landscaping jobs range from a few days to several weeks. Larger design-build projects involving hardscaping, irrigation, and planting can take four to eight weeks from start to finish.
Spring and early fall are ideal for most landscaping work in the Pacific Northwest. Spring allows plants to establish before summer heat, while fall gives roots time to develop before winter. That said, planning should begin months in advance to secure your spot on a contractor's schedule.
Professional landscaping costs vary widely based on the size of your yard, materials chosen, and complexity of the design. Basic lawn and planting projects may start in the low thousands, while full design-build backyard transformations can range from $20,000 to $100,000 or more.
Some landscaping projects require permits, particularly those involving retaining walls, grading, drainage changes, or large structures like pergolas and outdoor kitchens. A professional contractor like Angkorscape handles the permitting process as part of the project.
Look for a company with a strong portfolio of completed projects, verifiable reviews, clear communication, and a transparent design process. An all-in-one design-build firm is ideal because it keeps design and construction aligned under one team.
Regular maintenance includes mowing, pruning, fertilizing, and seasonal clean-ups. Your contractor should provide a maintenance plan tailored to the specific plants and materials used in your project to keep everything looking its best year-round.

Serving Greater Seattle homeowners with custom outdoor living spaces. One process, one team, one result.
Contractors License : ANGKOI*750PA