The landscape design process bridges the gap between your approved 3D concept and the moment a crew breaks ground on your outdoor space, and understanding each phase saves you time and money while keeping your project on track.
October 14, 2026
•
9-minute read
You just approved your 3D landscape design. The renderings look incredible, your outdoor rooms are mapped, and the plant material is selected. So what happens next?
Most homeowners assume construction starts within days. It rarely does. Between your design approval and the first shovel in the ground, a structured process unfolds that typically takes several weeks.
This phase is where permits, engineering, material selection, and crew scheduling actually live. Skipping or rushing any of these landscape design steps leads to delays, budget overruns, or work that does not pass inspection.
At Angkorscape, every project follows a clear sequence so homeowners know exactly what lies ahead at every stage.
The steps after approval follow a specific order, each building on the one before it. Here is the real sequence that a design-build firm works through before construction begins.
Once your final design plan is approved, your designer converts the conceptual design plans into a detailed, line-item estimate. This covers all the hardscape, softscape, lighting, irrigation, water features, grading, and labor.
You will see exactly what each element costs before anything moves forward. This pricing lock gives you a firm number to approve.
Most landscaping projects in Greater Seattle require at least one permit. Retaining walls over four feet, electrical work for lighting, plumbing for water features, and grading changes all trigger permit requirements. Your design-build team handles the submission, but approval timelines depend on your local municipality.
Permit requirements vary by city and county.
Retaining walls, steep slopes, large structures, and drainage problems corrected through regrading often need a structural engineer's stamp. This step is common in Greater Seattle due to the region's hilly terrain and climate concerns.
In our experience on slopes above Juanita and near Coal Creek, engineering review typically adds one to three weeks, longer when a geotech report is required.
If your property falls under an HOA, your designer prepares a package with renderings, material selection details, planting specs, and hardscape features. HOA approval timelines vary widely, from one week to over a month.
Once permits and HOA approvals are in hand, material selection becomes procurement. Natural stone, custom pavers, specialty plant material, lighting fixtures, and prefabricated components all have different lead times.
Some materials arrive in days. Others take six to eight weeks. Your project manager sequences these orders so everything lands when the crew needs it.
Construction begins with scheduling the right crews for each phase. Grading teams, hardscape installers, electricians, plumbers, and planting crews each have their own window.
Site preparation involves clearing debris, protecting existing vegetation worth keeping, and grading the land to match the approved design.
With permits approved, materials ordered, and crews scheduled, your build starts. The construction sequence typically moves from grading and drainage to hardscape, then irrigation, lighting, softscape, and final details like garden ornaments or a statuary or water feature.
💡 Pro Tip: Ask your project manager for a phased construction timeline at the pricing lock stage. Knowing which weeks cover grading versus planting helps you plan around disruptions to your daily routine.
Before your plan reaches the approval stage, the design process follows its own structured path. Understanding the early stages helps you see why the post-approval steps move so efficiently.
Every landscape designer starts with a thorough site analysis. This covers sun exposure, wind patterns, soil type, topography, drainage, and existing vegetation. Your property's microclimates affect plant growth and layout decisions, so this data shapes every choice that follows.
The site inventory also notes utilities, setbacks, access points, and any drainage problems that need correction.
Designers gather information about your needs, budget, personal style, maintenance style, and how you use your yard. Do you need a vegetable garden? Space for family pets? A zone for entertaining? This input drives the diagrams that organize your yard into public, private, and service areas.
The conceptual plan translates your priorities into a visual layout. This is where outdoor rooms take shape, pathways link spaces and encourage movement, and signature elements like a fire feature or garden wall find their place. Angkorscape's 3D landscape design process lets you walk through your future yard before a single material is ordered.
Most projects go through two to three revision cycles at this stage. Client feedback is crucial during the preliminary design phase, and design workshops involve clients in reviewing design concepts before the plan is finalized.
The final landscape plan includes construction drawings, planting details, material selection specs, grading plans, and irrigation layouts. This is the document your crew builds from. Design fees at Angkorscape begin at $2,500 and are credited toward your build, so the design investment rolls directly into construction.
Choosing between a design-build firm and hiring a separate designer and contractor changes how the landscape design and build process unfolds. Here is how the two approaches compare.
A design-build approach compresses the landscape design to construction timeline because permit submission, engineering, and material ordering begin while the design is still being refined. Separate teams cannot overlap these phases.
For Greater Seattle homeowners working on complex projects with retaining walls, grading, or water features, a design-build approach in Washington tends to reduce total project time by several weeks.
Even with a smooth process, some delays are outside anyone's control. Here are the most common hold-ups Greater Seattle homeowners encounter.
💡 Pro Tip: The most common cause of frustration is not the delay itself. It is finding out about it late. Ask your project manager for a weekly status update so you always know what is being waited on and why.
Your project manager will provide a phased construction timeline after pricing is locked. Here is what each phase typically covers and how long it takes.
Understanding this sequence helps you plan around noise, equipment access, and temporary disruptions to your front yard or driveway.
You can explore how the full design-build process works to see where each of these construction phases fits into the bigger picture.
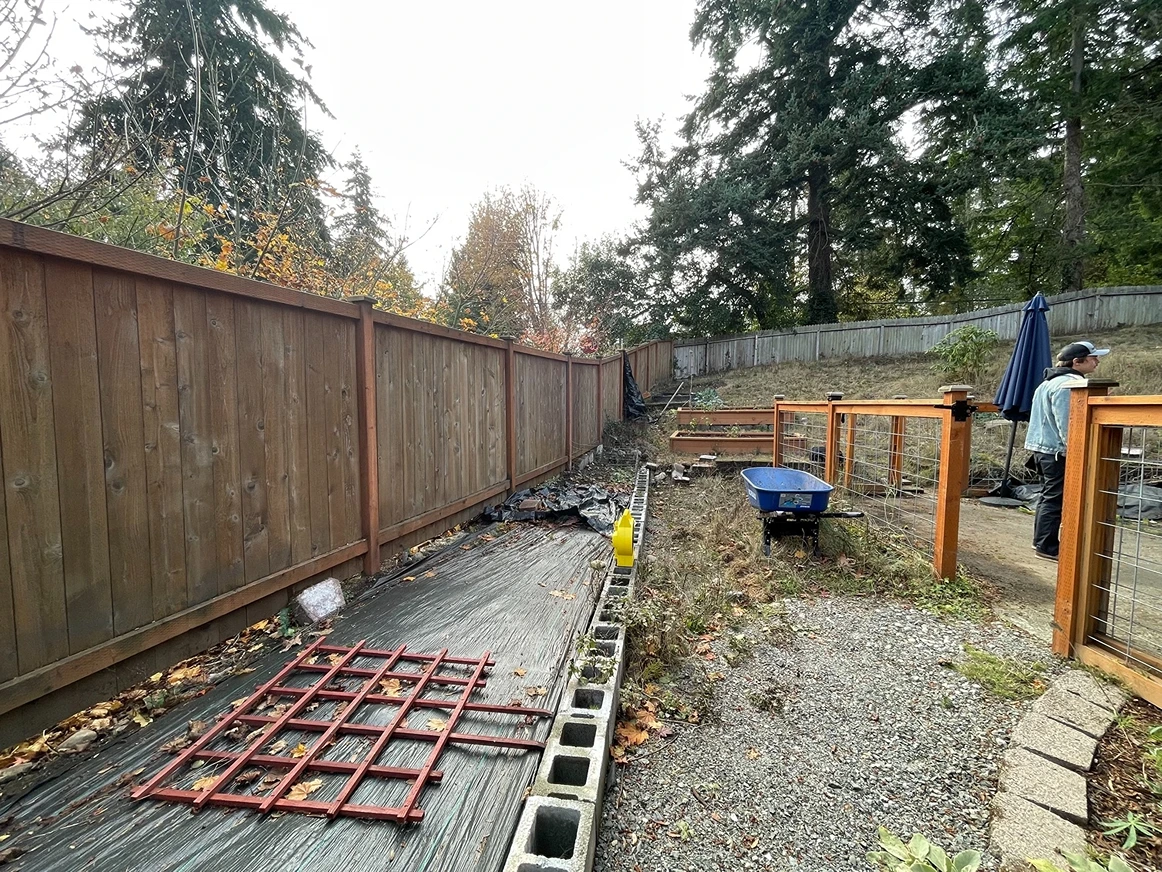
The weeks between design approval and construction start are not downtime. Here is how to make that window productive.
Clear the areas your crew will need. Move vehicles, portable structures, and anything stored along fence lines or in the side yard. Confirm where equipment and materials will be staged.
Let adjacent property owners know about the upcoming work. Share approximate start dates and expected duration. This avoids friction and keeps relationships with your neighbors intact.
Revisit your line-item pricing, payment schedule, and warranty terms. Make sure you understand what is included, what triggers a change order, and how communication will work during the build.
If your planting plan includes seasonal availability considerations, confirm plant selection with your designer. Native plants and resource-efficient species tend to have steadier supply, but specialty or unique and colorful plants may require early ordering.
Use the USDA Plant Hardiness Zone Map to verify that your selected species match Greater Seattle's climate conditions. Your designer will handle this, but understanding the reasoning helps you make confident choices.
Consider plant growth rates and mature sizes so your yard looks balanced at installation and improves with time.
A well-structured landscape design process is how a backyard that looks great on paper actually gets built on time and on budget. Every phase between approval and construction exists to protect your investment and deliver a result that matches your approved 3D design.
Greater Seattle homeowners who understand the landscape design steps feel more confident, ask better questions, and experience fewer surprises during the build.
We handle every phase — design, permits, engineering, procurement, and build — under one roof.
From design-build pricing to permit management to final walkthrough, one team owns the entire project.
Schedule a consultation to talk through your project timeline and see what the path from design to finished build looks like for your property.


The landscape design process steps after approval include line-item pricing lock, permit submission, engineering review if needed, HOA package submission, material ordering, crew scheduling, and then construction. Each phase builds on the one before it.
The gap between approval and groundbreaking typically runs four to ten weeks, though permits and material lead times can push it longer. Permit processing, material lead times, and engineering review are the biggest variables.
A high-end landscape design process starts with site analysis, moves through conceptual design, client revisions, and final documentation, then transitions into permitting, procurement, and phased construction. The goal is a final landscape plan that guides every build decision.
Most professionals break the process of landscape design into 7 steps: site analysis, client discovery, conceptual design, design revisions, final documentation, pre-construction preparation, and construction. Some firms add a post-build maintenance phase.
A landscape design and build process keeps design, permitting, procurement, and construction under one team. Hiring separately means two contracts, two timelines, and potential miscommunication between your designer and contractor.
Professional landscape design fees vary widely by scope and firm. At Angkorscape, design fees begin at $2,500 and are credited toward your build, so the investment rolls directly into construction.
Minor adjustments to materials or plant selections can usually be accommodated after approval. However, significant layout changes may require new engineering, updated permits, or revised pricing. Discuss any changes with your project manager before construction begins to understand the impact on timeline and cost.

Serving Bellevue and the Eastside homeowners with custom outdoor living spaces. One process, one team, one result.
Contractors License : ANGKOI*750PA